
Kyle Jamieson: Bounce, Seam and Bowling Figures Explained
Explore Kyle Jamieson’s bowling role, release height, bounce and seam, then learn to read overs, economy rates and wickets with practical examples.

Kyle Jamieson is a New Zealand fast-medium bowler whose unusually high release point makes bounce an important part of the discussion around his bowling. The ICC identifies him as a right-arm fast-medium bowler and a right-handed batter. To understand his game, separate three features that are often confused: the delivery angle, movement through the air and movement after pitching.
This is a practical profile and bowling guide. It does not claim a live wicket tally, a current fitness diagnosis or a confirmed place in today's playing eleven. Those details require a dated match record or team announcement. The aim here is to help readers recognize what they are watching and interpret bowling figures more intelligently.
Who is Kyle Jamieson?
Kyle Jamieson represents New Zealand in international cricket. The ICC player profile records his international career beginning in 2020 and lists bowling as his primary role. That establishes his basic playing identity. His height and high release point help explain why discussion of his bowling frequently centers on bounce and the difficult decisions it can create for batters.
A bowler's role is more precise than the label fast. Two right-arm seamers can challenge a batter in different ways because of release position, seam control, pace, accuracy and the surfaces on which they bowl. Jamieson provides a useful example of why a good analysis describes the mechanism rather than simply praising speed.
Do not attach another New Zealand bowler's figures to his profile. Matt Henry, Jacob Duffy, Will O'Rourke and Jamieson are different players, even when their names appear together in a squad discussion. Confirm the exact name and fixture before repeating a wicket total or a claim about availability.
Why does release height matter?
A ball delivered from a higher point can approach the pitch along a different trajectory from one released lower, even when both land in a similar area. The resulting bounce still depends on speed, angle and surface behavior. Height creates possibilities; it does not make every delivery unplayable or guarantee the same bounce everywhere.
For the batter, the challenge is deciding whether to play forward, move back, leave or defend. A length that looks comfortable at first may climb more than expected. That can bring the top of the bat or glove into play. The bowler must still land the ball accurately enough to make that uncertainty relevant.
Think about the difference between a useful good length and a repeated short ball. Extra bounce from a threatening length can force a difficult defensive decision. A ball that is consistently too short may give the batter time to pull, cut or simply leave. A physical advantage is most valuable when it is supported by control.
Swing, seam and angle are different
Swing is movement through the air before the ball pitches. Seam movement is deviation after the ball contacts the surface. Angle describes the initial path created by the bowler's release position. A delivery can combine more than one feature, which is why a simple description such as it moved away may not explain the whole contest.
A right-arm bowler can release closer to the stumps or wider on the crease. That changes the line the batter initially sees. If the ball then seams or swings, the final path may differ from that first impression. Good batters try to judge the actual delivery rather than committing too early to the angle alone.
When watching a replay, split it into two observations. First note where the ball is heading before pitching. Then note what changes afterward. This helps prevent a common commentary error: calling every lateral deviation swing, including movement that occurred only off the pitch.
What is a genuinely good length?
A good length is not one fixed distance that works for every bowler, batter and surface. It is an area that makes the batter uncertain about moving fully forward or backward while still threatening a meaningful dismissal. Release height and pace affect where that challenging area lies.
For a taller bowler, a slightly fuller delivery may still bounce enough to trouble the upper part of the bat. If the bowler drifts too full, however, the batter may drive confidently. If the length becomes too short, the threat to the stumps decreases and scoring opportunities can open elsewhere.
This is why pitch maps are useful but incomplete. A cluster of deliveries in one area shows consistency. It does not automatically show quality. Connect the map with the batter's responses: edges, beaten shots, uncomfortable defenses, controlled leaves and scoring strokes. Accuracy matters most when it produces a difficult decision.
How to read Jamieson's bowling figures
Traditional bowling figures show overs, maidens, runs and wickets. Read each part correctly before judging the spell. Cricket overs are not decimal numbers. Five overs and four legal deliveries is written as 5.4, but the total is 34 legal balls, not 5.4 conventional units of six.
| Fictional spell | Correct interpretation |
|---|---|
| 6 overs, 30 runs, 2 wickets | Economy rate 5 runs per over |
| 5.4 overs, 34 runs, 1 wicket | 34 legal balls, economy rate 6 |
| 4 overs, 24 runs, 0 wickets | Economy rate 6, with no credited wicket |
These examples are not Jamieson's reported figures. They illustrate calculation. For 5.4 overs, convert 34 balls into 34 divided by six overs before calculating economy. Dividing runs by the displayed number 5.4 would give the wrong answer and can distort comparisons between incomplete spells.
Also inspect extras and dismissal types. A run-out does not become a wicket credited to the bowler. Team totals and individual bowling figures account for different events, so they will not always add together in the simple way a beginner expects. The scorecard notes explain those differences.
Wickets do not explain the entire spell
A bowler can create pressure without immediately taking a wicket. Repeated accurate deliveries may prevent scoring and encourage the batter to take a risk against the other end. That influence is real, but it should be supported by observation rather than used as an excuse for every wicketless performance.
The reverse is also possible. A spell can include expensive, poorly controlled bowling and still collect wickets from ambitious shots late in an innings. The wickets count, but their context matters. A good analysis records both the outcome and the quality of the opportunities the bowler created.
Watch the partnership between bowlers. If one end concedes easy singles, pressure from the other end may be released. If both keep a disciplined line, a batter has fewer low-risk options. Bowling is an individual skill performed within a team plan, so judging each spell in isolation can miss an important part of the contest.
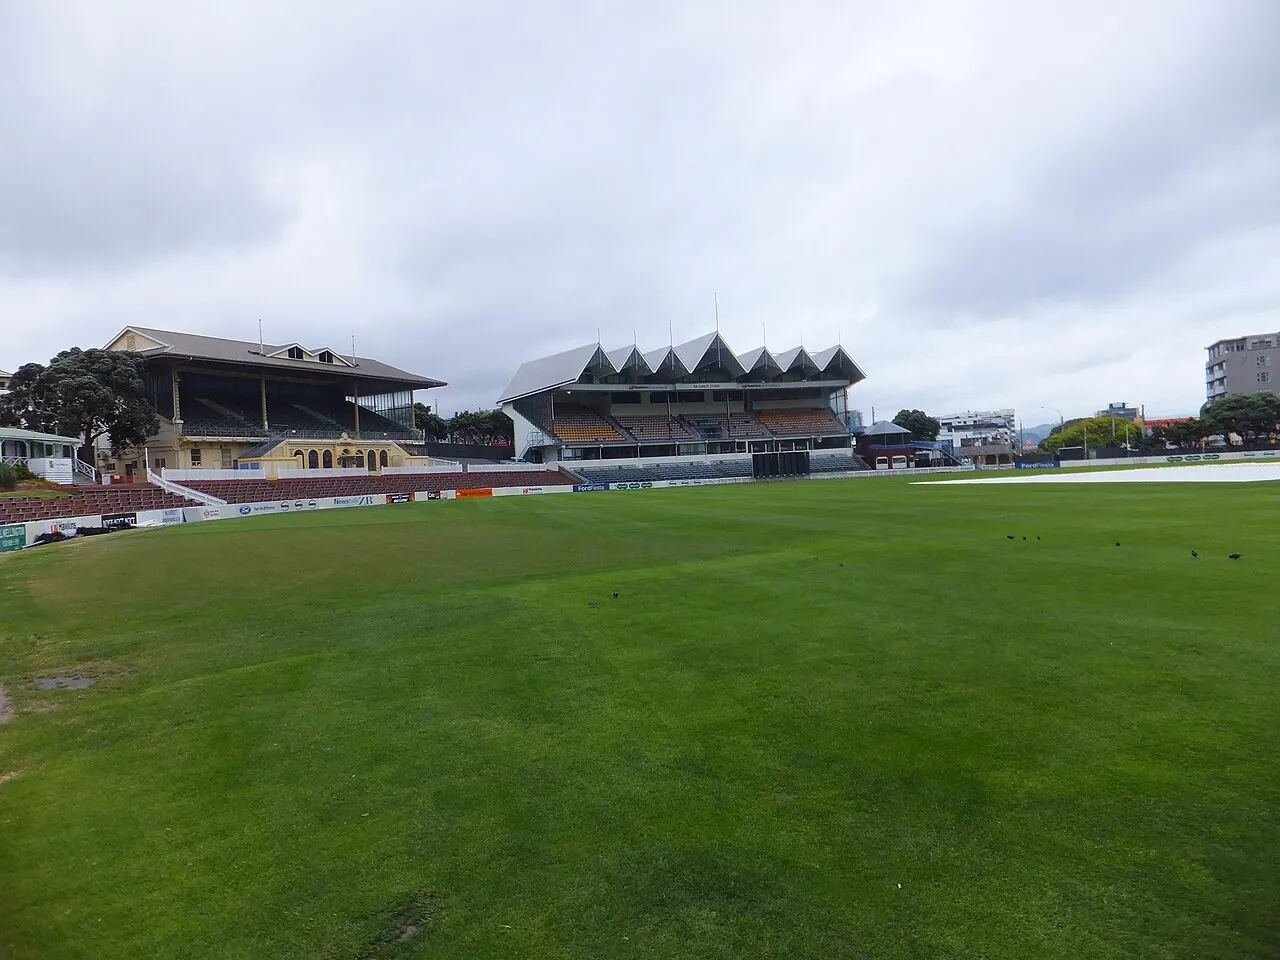
Grandstands at the Basin Reserve, illustrating the setting of New Zealand cricket.
A worked example of setting up a batter
Imagine a fictional six-ball sequence to a right-handed batter. The first two deliveries hold a disciplined line just outside off stump. The third is slightly fuller and is driven to a fielder. The fourth follows a similar path but moves away after pitching. The batter has now seen a repeated initial picture with more than one outcome.
The fifth delivery starts on a similar line but comes back toward the stumps. If the batter has committed to leaving based only on the earlier sequence, that change may create a dismissal. If the delivery is too wide, however, the plan loses its threat. A clever idea cannot replace accurate execution.
The lesson is not that every bowler should follow this exact sequence. It is that repeated deliveries can create expectations, and controlled variation can challenge them. Assess the plan from several balls together rather than claiming that a wicket delivery was a magical surprise unrelated to everything that came before it.
Why Test and white-ball spells differ
In Test cricket, a bowler can develop a plan over a longer spell and revisit it after another batter arrives. Attacking fielders may remain close to the bat for sustained periods. The ball and pitch also change over time, which makes adapting length and workload important.
In an ODI, the bowler must manage field restrictions and a limited allocation of overs. A captain may save part of a spell for a later phase. The most useful delivery early with the new ball may not be the right option when a set batter is attacking at the end of the innings.
T20 cricket compresses those decisions further. A bowler may have only a few deliveries to adjust to an aggressive batter. Variations in pace and length need to be judged alongside boundary dimensions and field placement. Do not take a Test bowling average and use it as a complete explanation of T20 effectiveness.
Fitness reports need dated evidence
Fast bowling places substantial demands on the body, but a player guide should not invent a diagnosis or a return date. Distinguish a historical injury report from a current medical or selection update. An old headline can reappear during a new series and make a fit player look unavailable, or make an unavailable player appear ready.
Use the team's dated statement for availability and the match sheet for selection. Training photographs alone do not establish full match readiness. Likewise, omission from one squad does not prove a fresh injury; workload management, conditions and selection balance can all be relevant when explicitly stated by the team.
For young bowlers, do not imitate an international workload. Develop technique with qualified coaching, appropriate rest and age-suitable practice. Pain is not a reliable sign of productive training. International footage can teach observation, but it cannot provide an individual medical assessment or a safe personal training prescription.
An observation exercise for the next match
Track twelve legal deliveries from one spell. Mark line, length, bounce, batter response and outcome. Keep the categories simple enough to use consistently. If you cannot judge seam movement from the available camera angle, write uncertain rather than turning an impression into a fact.
At the end, compare the deliveries that created discomfort with those that conceded controlled runs. Was the difference length, line, pace or a change in the batter's intent? A sample of twelve balls is small, but it can produce a specific observation worth testing in the next spell.
Finally compare that observation with the figures. A wicket may support your explanation, but the lack of one does not automatically disprove it. Look for the quality and frequency of chances. This makes watching more informative than waiting only for a wicket replay.
Common questions
Is Kyle Jamieson a spinner?
No. The ICC lists him as a right-arm fast-medium bowler. Swing and seam are mechanisms associated with a delivery's movement, not names for spin bowling. A slower delivery from a pace bowler also does not automatically change the player's bowling classification.
Does height guarantee bounce?
No. Release height contributes to trajectory, while the pitch, speed and delivery length affect what happens after pitching. Taller bowlers still need accuracy and adaptation. A short, harmless delivery is not improved merely because it came from a high release point.
Where should I check today's wickets?
Use a dated official scorecard or reliable match centre. Confirm the opposition, competition and innings. A player profile can identify the bowler, but its career record is not the same thing as a live match feed or a verified playing eleven.
A question about bounce
Two deliveries land in the same marked area, yet one reaches the batter noticeably higher. Must the pitch have changed? Not necessarily. Release height, speed and trajectory can differ, and the precise point of contact may not be identical. A pitch-map dot compresses a three-dimensional event into a small graphic. Use it with replay evidence rather than demanding that every delivery in the same visual cluster behave identically. This is a useful reminder that a chart simplifies reality so it can be read; it does not preserve every relevant detail.
Continue learning
Our India and New Zealand match context explains the wider matchup. For more learning material, explore the study directory. Bring the same habit to any subject: distinguish an observation, a calculation and a conclusion before deciding what the evidence means.
Sources
Image credits: cover: Photographer - David Hollander, source, CC BY 3.0 nz. Resized and converted to WebP. inline: Gruyere, source, CC BY-SA 3.0. Resized and converted to WebP.
Found an error or an outdated detail? Report a correction with the article URL and original source.